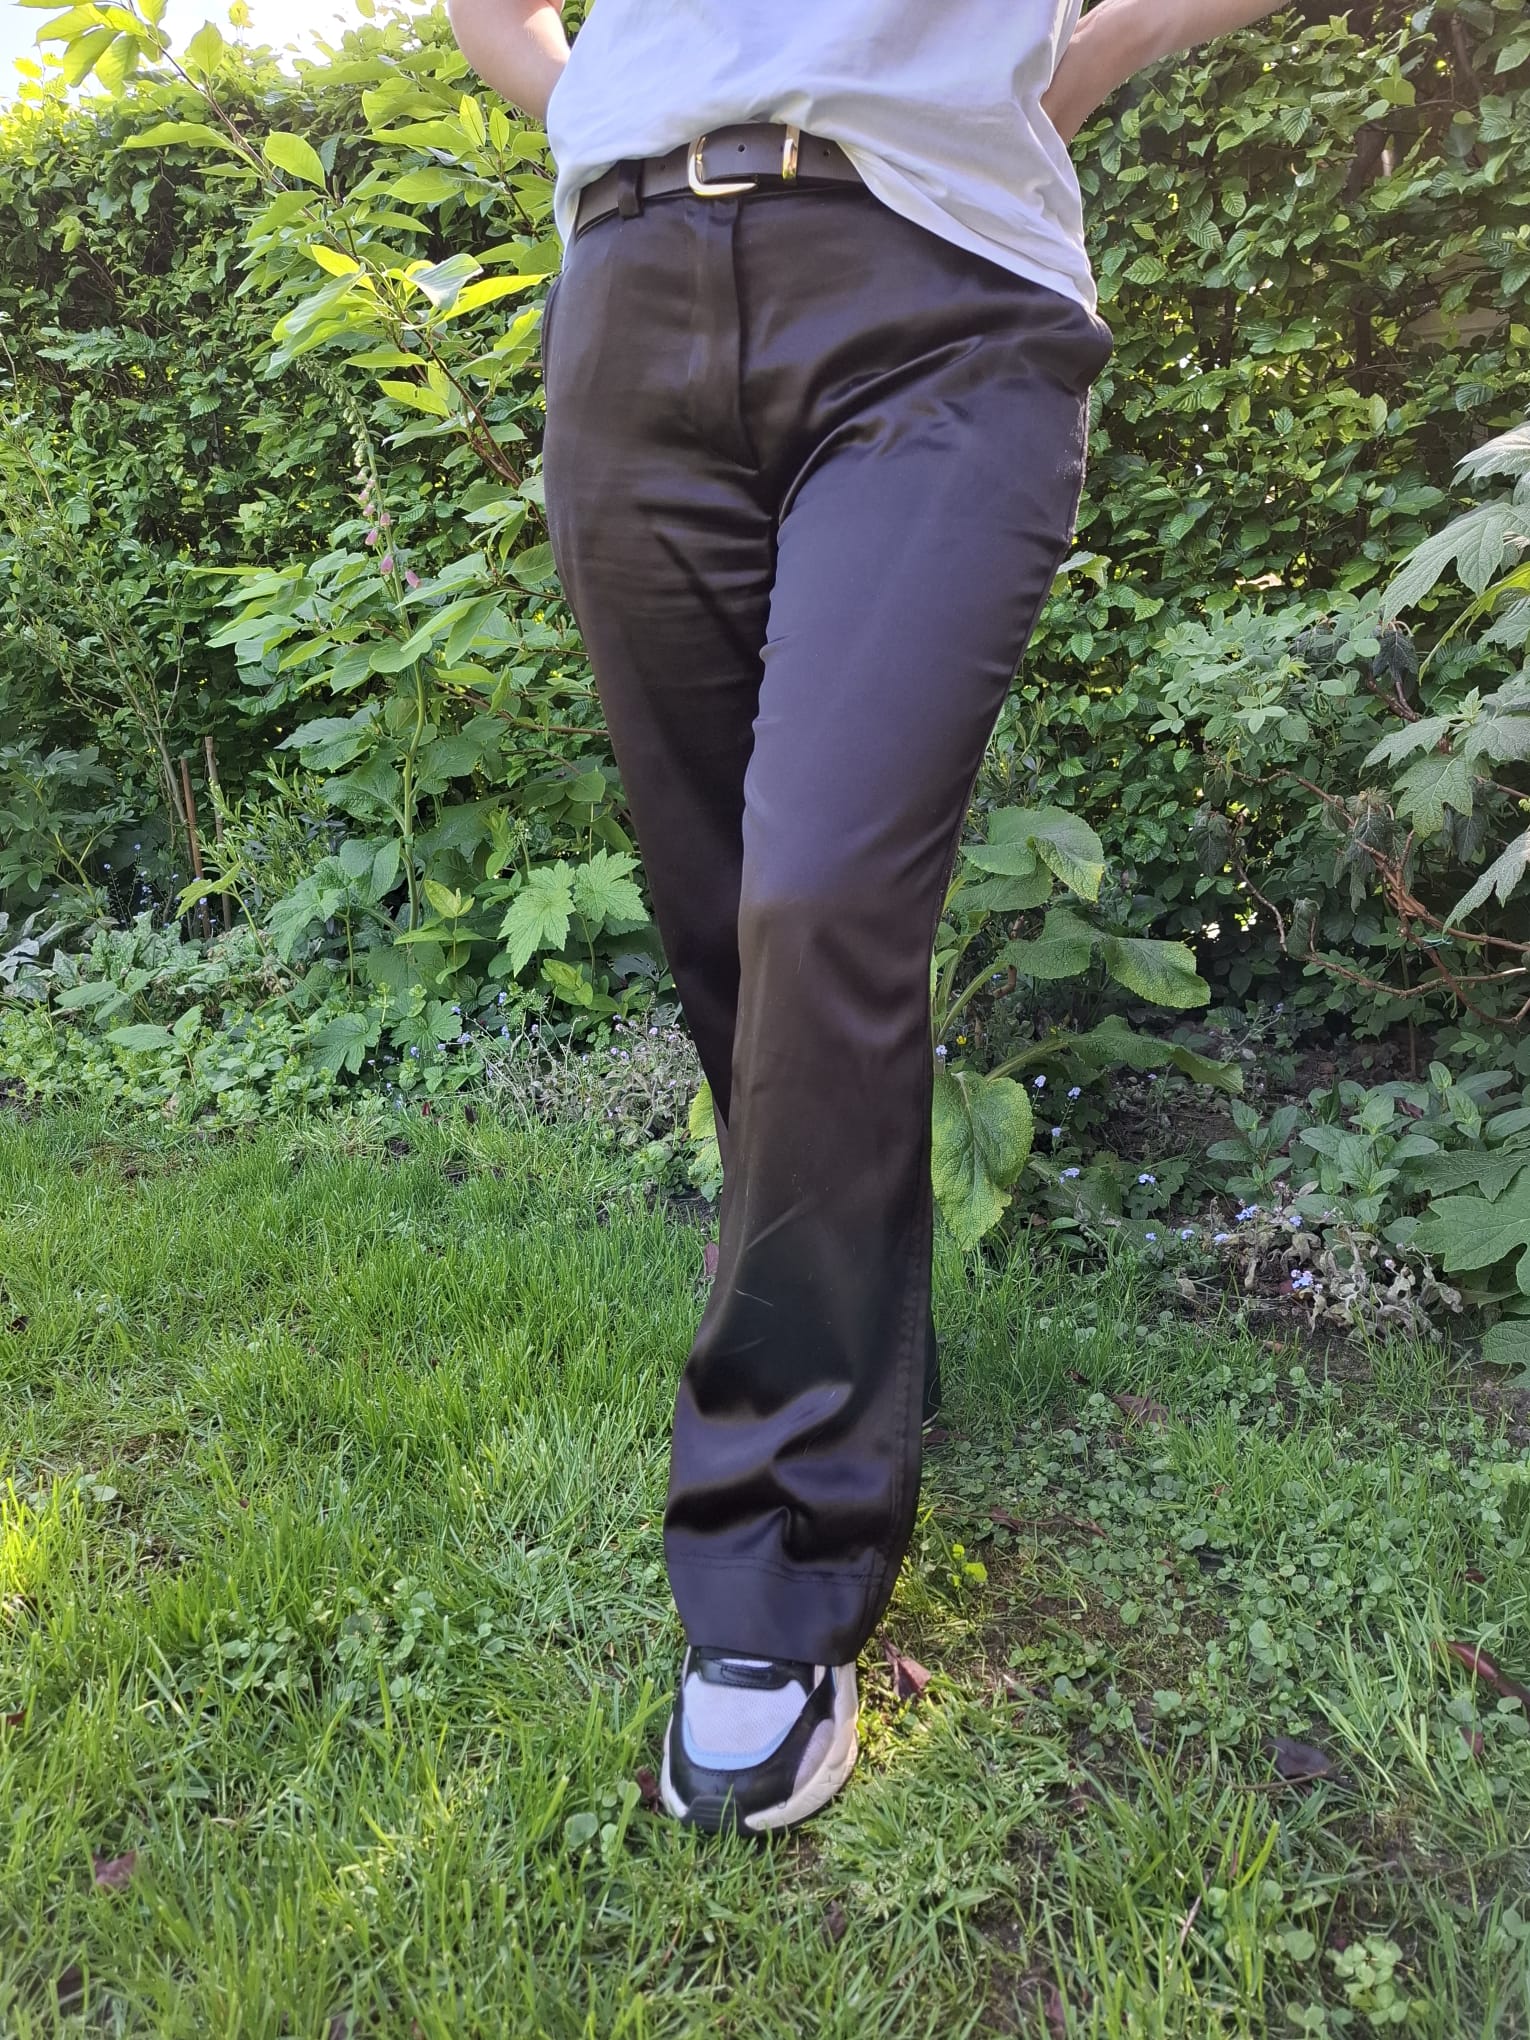
Perfect palazzo
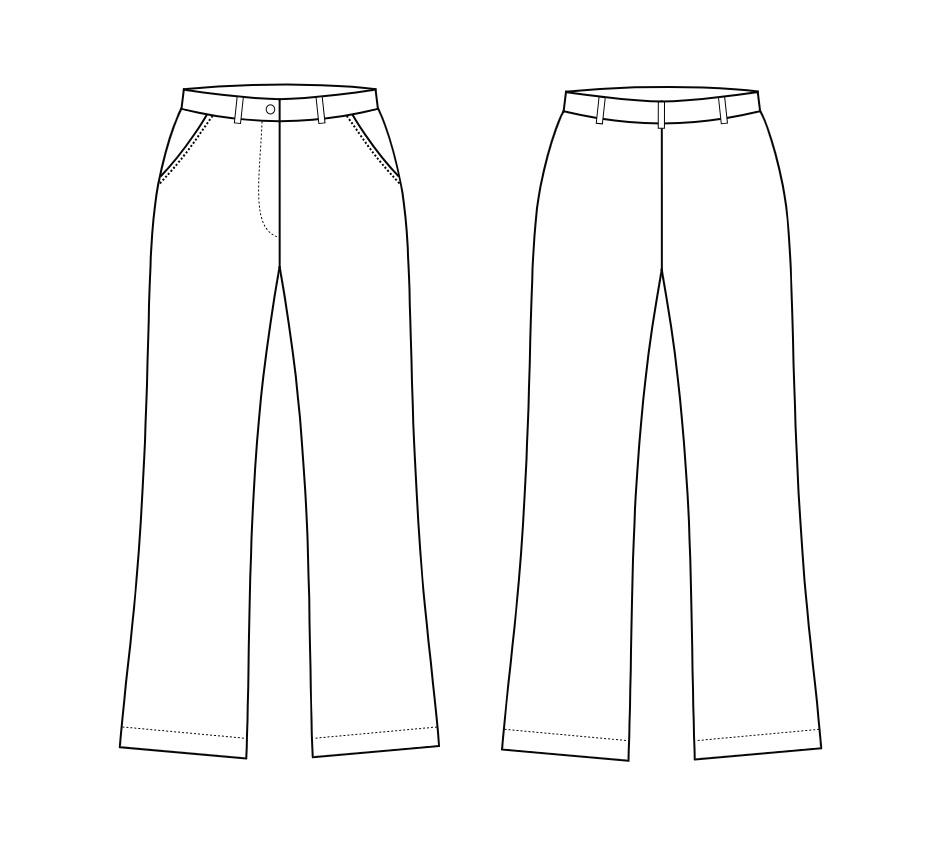
A. front piece
B. back piece
C. back waistband
D. front waistband
E. bag
F. pocket + hip part
G. undershot fly
A. front piece
B. back piece
C. back waistband
D. front waistband
E. bag
F. pocket + hip part
G. undershot fly
Needed: approximately 120 centimeters of non-stretch fabric, depending on your measurements.
Vlieseline,
row,
Button.
1. Cut out the pattern in paper.
2. Fold the fabric in half lengthwise.
3. Place patterns C and G against the fabric fold and place the other patterns on the fabric. Cut out all patterns with seam. Cut out the waistbands twice.
4. Sew the pocket (E) to the front piece (A) and topstitch it.
5. Sew the pocket + hip part (F) to the pocket (E).
Stitch the dart(s) into the back piece
6. Sew the outer leg seams and topstitch them.
7. Stitch the inside leg seams.
8. Stitch the crotch seam to the fly facing.
9. Iron interfacing under the fly facing and against the underturn fly (G).
10. Zigzag or lock the edges of the fly facing.
11. Fold the underpass fly in half lengthwise, right sides together, lengthwise and at the bottom. Sew it in place and turn over.
12. Fold and press the fly facing inward.
13. Pin and baste the right side of the zipper to the fly facing of the right leg (seen in front of you). Now stitch this down.
14. Fold the fly facing with the zipper inwards and pin the bottom flap (G) to it.
15. Now sew the zipper to the bottom flap (G).
16. Now fold the center front of both legs together. Turn your work around.
17. Now pin and baste the other side of the zipper to the fly facing. Sew this in place.
18. Remove the basting threads.
19. Topstitch the fly at the front.
20. Iron interfacing over the loops, fold the seams inward, and topstitch.
21. Stitch the front waistband (D) to the back waistband (C), do this twice.
22. Iron interfacing onto the waistband.
23. Stitch both pieces of waistband together, and stitch the loops in between. Fold the seam towards the (facing) waistband and topstitch it.
24. Stitch the waistband to the trousers, fold the (facing) waistband inwards and stitch it in place.
25. Stitch the other side of the loops to the pants.
26. Sew a buttonhole in the waistband, and sew a button in the waistband behind the buttonhole.
27. Hem the legs.