November
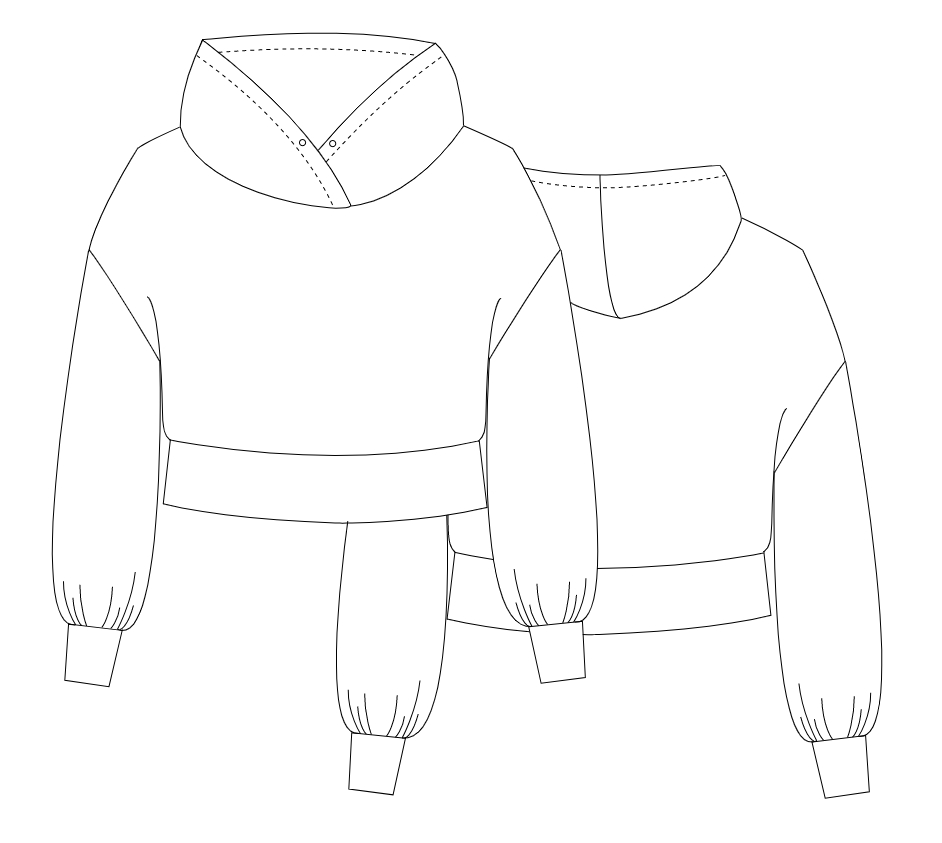
A. front piece
B. back piece
C. sleeve
D. sleeve cuff
E. hood
F. hip collar
A. front piece
B. back piece
C. sleeve
D. sleeve cuff
E. hood
F. hip collar
Needed: approximately 200 centimeters of stretchy fabric, depending on your measurements.
1. Cut out the pattern in paper.
2. Fold the fabric in half lengthwise.
Place patterns A, B and F against the fabric fold.
3. Place the other patterns on the fabric and cut out all the patterns with seams.
Cut out pattern E, the hood, twice.
4. Stitch the shoulder seams of the front and back pieces with the right sides together.
5. Stitch the sleeves to the front and back.
6. Pin the seam of the sleeves and body. Stitch the seam of the body and sleeves together in one go.
7. Stitch the sleeve cuffs and hip cuffs in width.
8. Fold the sleeve cuffs in half and pin and stitch them to the sleeves.
9. Also fold the hip edge and pin and stitch it to the bottom of the sweater.
10. Place the 2 parts of the hood on top of each other and topstitch them, do this twice.
11. Now fold the 2 hoods with the right sides together and stitch them in place.
Now turn the hood over, right side out.
12. Iron a piece of interfacing on the back, where the nesting ring for the cord should be. Now make a hole and drive a nesting ring through it.
13. Thread the cord through the nesting rings. and sew a tunnel into the hood.
14. Now pin and stitch the hood to the neck, allowing the tunnel to overlap at the front.